Click Below to View the Photo Gallery

Photo Gallery

Monday, August 27, 2018

Paint Seal, Wax and New Tires


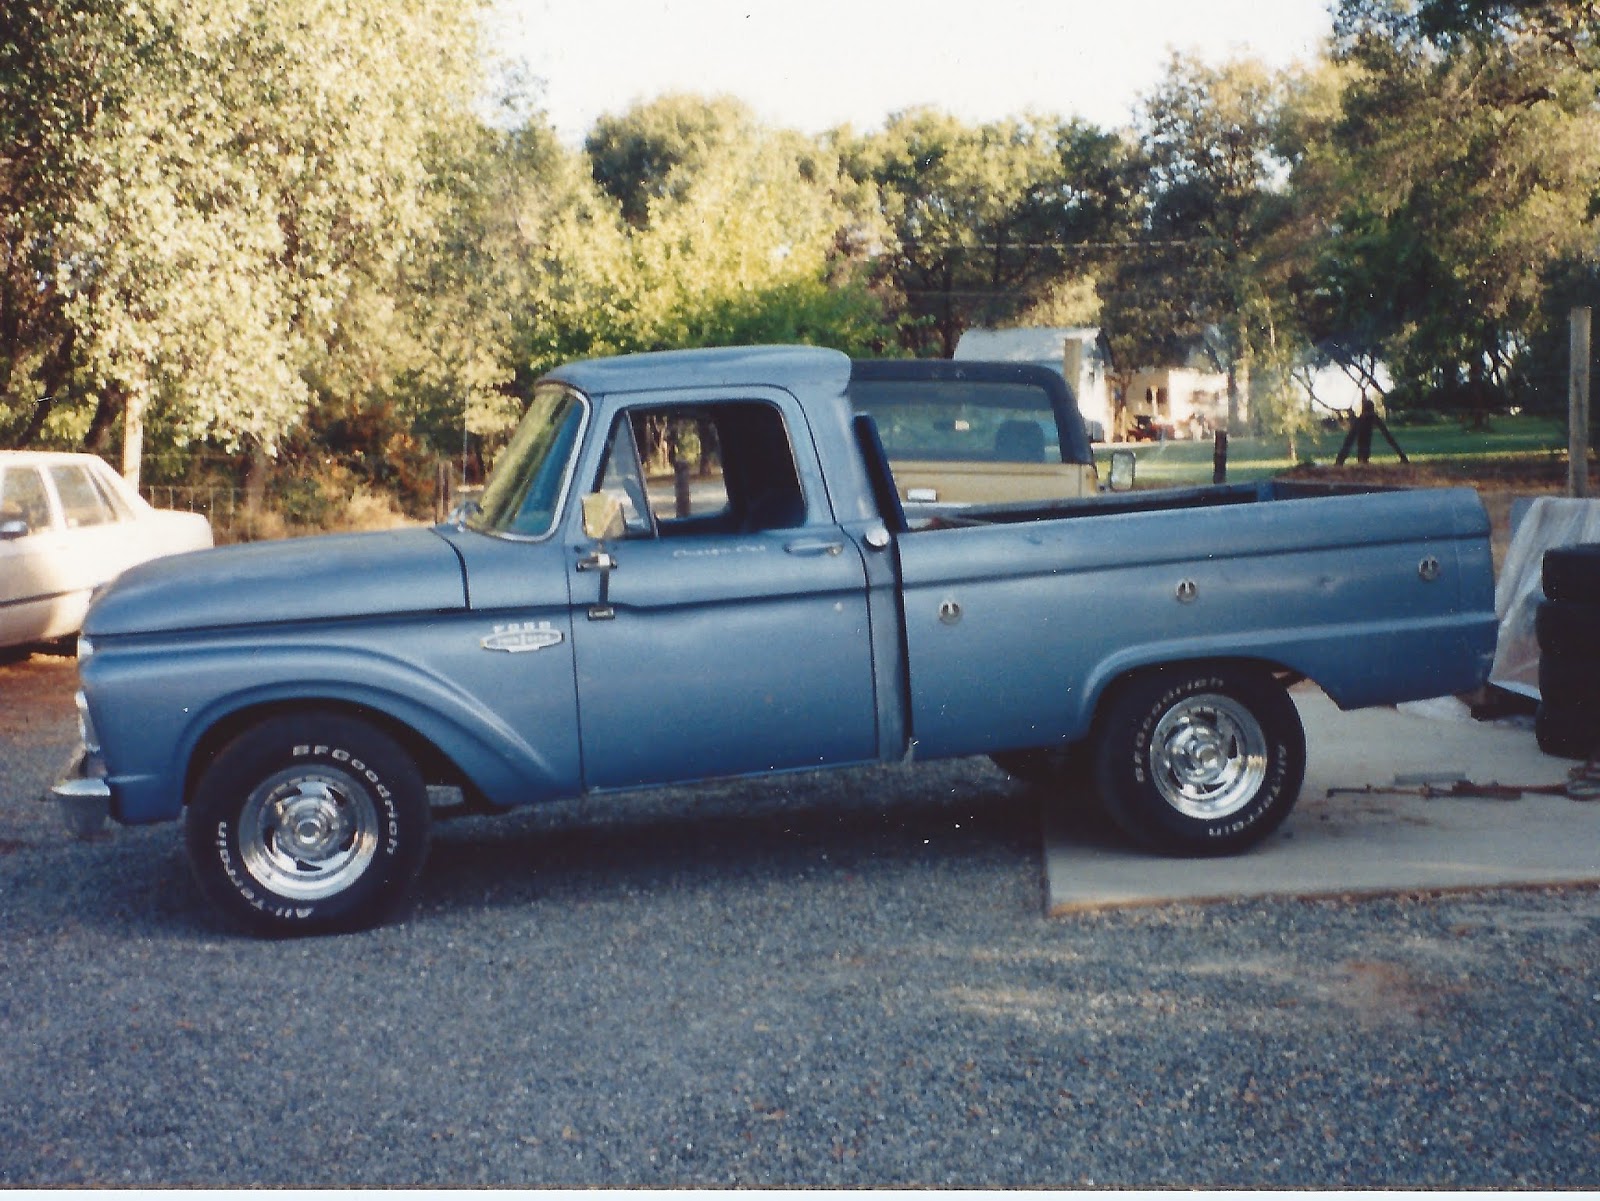
I am finally to the point where the truck is ready to drive. At the end of last week I got notice from DMV that my Retro Black Personalize plates had arrived. I went in and got them and paid up the registration.

So the next thing I decided to do was get truck washed and clay bar'd. This took about 6 hours to do. There was a ton of grit that the clay bar got up. Below is a pic of the 20 years of so of dirt that had settled on the hood. I went through 3 clay bars, they started out white and in the end, all but the last one was solid black.


Friday evening, I used Car Guys Liquid wax to seal the paint. This stuff went on really easy. After it hazed over it was very easy to remove, nothing like other waxes I have used.


After about 12 hours of cure time, I then used the Car Guys Hybrid Wax to finish it off.


These products were both very easy to use and their ease of use alone are worth their extra cost. I took her for the first drive on Saturday. I immediately found that the tires all had major flat spots. The truck was jumping all of the place because of it, so I had to break down and buy 4 new tires.


Aluminum Rim Oxidation Cleanup

After cleaning up my rims I found a lot of oxidation and stains. I tried rubbing, buffing and polishing and no amount of work would remove it. 


I found some good reviews on a product called White Diamond and decided to give it a try.


It was pretty straight forward, apply some to a cloth then rub it until it turned black, let it sit for 1 minutes then wipe off.


Below is the result of my test area and to my great surprise, it worked pretty darn good!


At this point I decided to rub in the entire rim by hand applying the White Diamond to cover the whole thing. I then used my drill with a polishing wheel and polish the whole wheel with that power tool. I let it sit for about a minute, maybe more like 5, and then hand rubbed all of the polish off the wheel.


Success! This stuff is awesome!!!


Monday, August 20, 2018

Cover Holes Left by The Old Towing Mirrors

Since I am not going to repaint this truck, I need to find creative ways to cover and/or fix blemishes. One such blemish is the holes left over by the old towing mirrors.

Not a great picture, but as you can see below the holes. I was just going to pop in some chrome button caps, but these holes are such an odd diameter, that none that I could find would fit.


I decided to take two different approaches. First, I used a pair of Chrome Button Head bolts to fill the top holes. Here you can see them installed. You can also see well the major smashing damage that was done by the body shop after they over-tightened the old mirrors on soft paint. There is nothing I can do to fix this.


Next I decided to get a pair of "390" emblems off of ebay. These are stock on the 1965 Ford Mustang. I personally like the way they came out.


All in all, I am very pleased :)


Tuesday, August 7, 2018

Gas Filler Neck Hole Repair

When I did the first build of this truck int he early 1990's, I removed the fuel tank from inside the cab. During the body work, I had the filler neck hole covered. I manufactured and installed a tank behind the rear axle. In this build, I am replacing that homemade tank which I cover in another post. But I now am stuck with a hole int eh side of the bad that I don't want. I am not going to have it filled and painted so I need to create a plug of sorts to fill this hole.


Here is what I am working with. You can see the large filler neck hole in the back portion of the bed.


After much thought, I decided that I would cut a round piece of aluminum, form it, polish it to a high shine and then use a chrome carriage bolt to hold it in place.

It is hard to see in the below photo, but the plug does have a curve to it to match the side of the bed. I used a 3" piece of pipe to form the curve into the plug. The hole was made square with a square rat tail file. I used a power drill with a buffing wheel to get the shine.


Here you can see the back side. I used a nylon locking nut and a piece of black steel which i later primed and painted. This will be installed before I spray in my bed liner so that it matches the inside of the bed. I used a piece of vinyl to create a type of gasket to protect the paint.


Here is the finished product.


Friday, August 3, 2018

Spray-in Bed Liner Prep and Application

Finally we had a break in the weather today and it corresponded with my day off. We have had a heat wave of about 4 weeks of over 100 degrees. The last couple days have been cooler (mid 90's) and today started of very cool (high 70's). I took this break in the heat to spray in the bed liner that I have been holding on to for a couple months.

I decided to use SEM's Rock-IT Liner. I got it from Summit, but did a price match on Amazon with Summit which saved me about $30. I paid $120.


The kit came with 4 quarts of liner, catalyst, spray gun, measuring cup and instructions. It did not come with the air adapter. I had to screw one from another tool into the gun, no big deal. I used heavy rubber gloves and a face mask when I mixed and sprayed.


My prep was easy. I had already pressure washed, treated rust areas and primed where needed. I sanded down the areas that I had previously used some light body filler and blew out the bed. (the shiny spots is the rust treatment). Here is my masking job. 


I sprayed it lightly with about 3 coats. I put on all 4 quarts as evenly as I could.


Here is the masking removed / finished product. Much nicer than before!!


You can see below the nice tight / clean lines that this stuff can make. I used a good brand masking tape (Duck Brand). There was absolutely no runs or seeping behind the tape. It made for some great sharp lines!


Here you can see how nice and clean the filler neck customization turned out. I love the finished product.


Monday, July 23, 2018

Photo Gallery

First build circa 1980's


Second build circa 1993-1994


Third build Began May 2018


. . .
. . .